Let the ice cream do the work
Vanilla is a useful starting point because there is nowhere for a watery texture or excessive sweetness to hide. This version begins with twice as much ice cream as milk by weight, although the precise finish depends on the air and fat in the ice cream you buy. A light supermarket tub and a dense premium tub will not behave identically. Measure the first batch so that you can make a sensible adjustment next time.
The ice cream should be scoopable, not melted. A little softening makes it easier for the blades to pull the ingredients down without needing a flood of milk. If the tub is very hard, give the scoops a few minutes in a bowl while the rest of the ingredients stay chilled. Do not leave the whole tub out to soften repeatedly.
Choose a vanilla flavour you actually enjoy
Taste a small spoonful of the ice cream before adding extra vanilla. Some tubs already have a strong flavour; others benefit from a little extract. Vanilla bean paste can also work, but check the bottle's suggested amount because products differ. The black seeds are attractive rather than essential to the texture.
There is no added sugar in the base recipe. Ice cream normally provides enough, and a whipped cream topping adds richness without needing a syrup-lined glass. If you want a less sweet result, using a little more milk changes both sweetness and thickness. It cannot remove the sugar already in the ice cream, so choose a base that suits you.
What a finished shake should look like
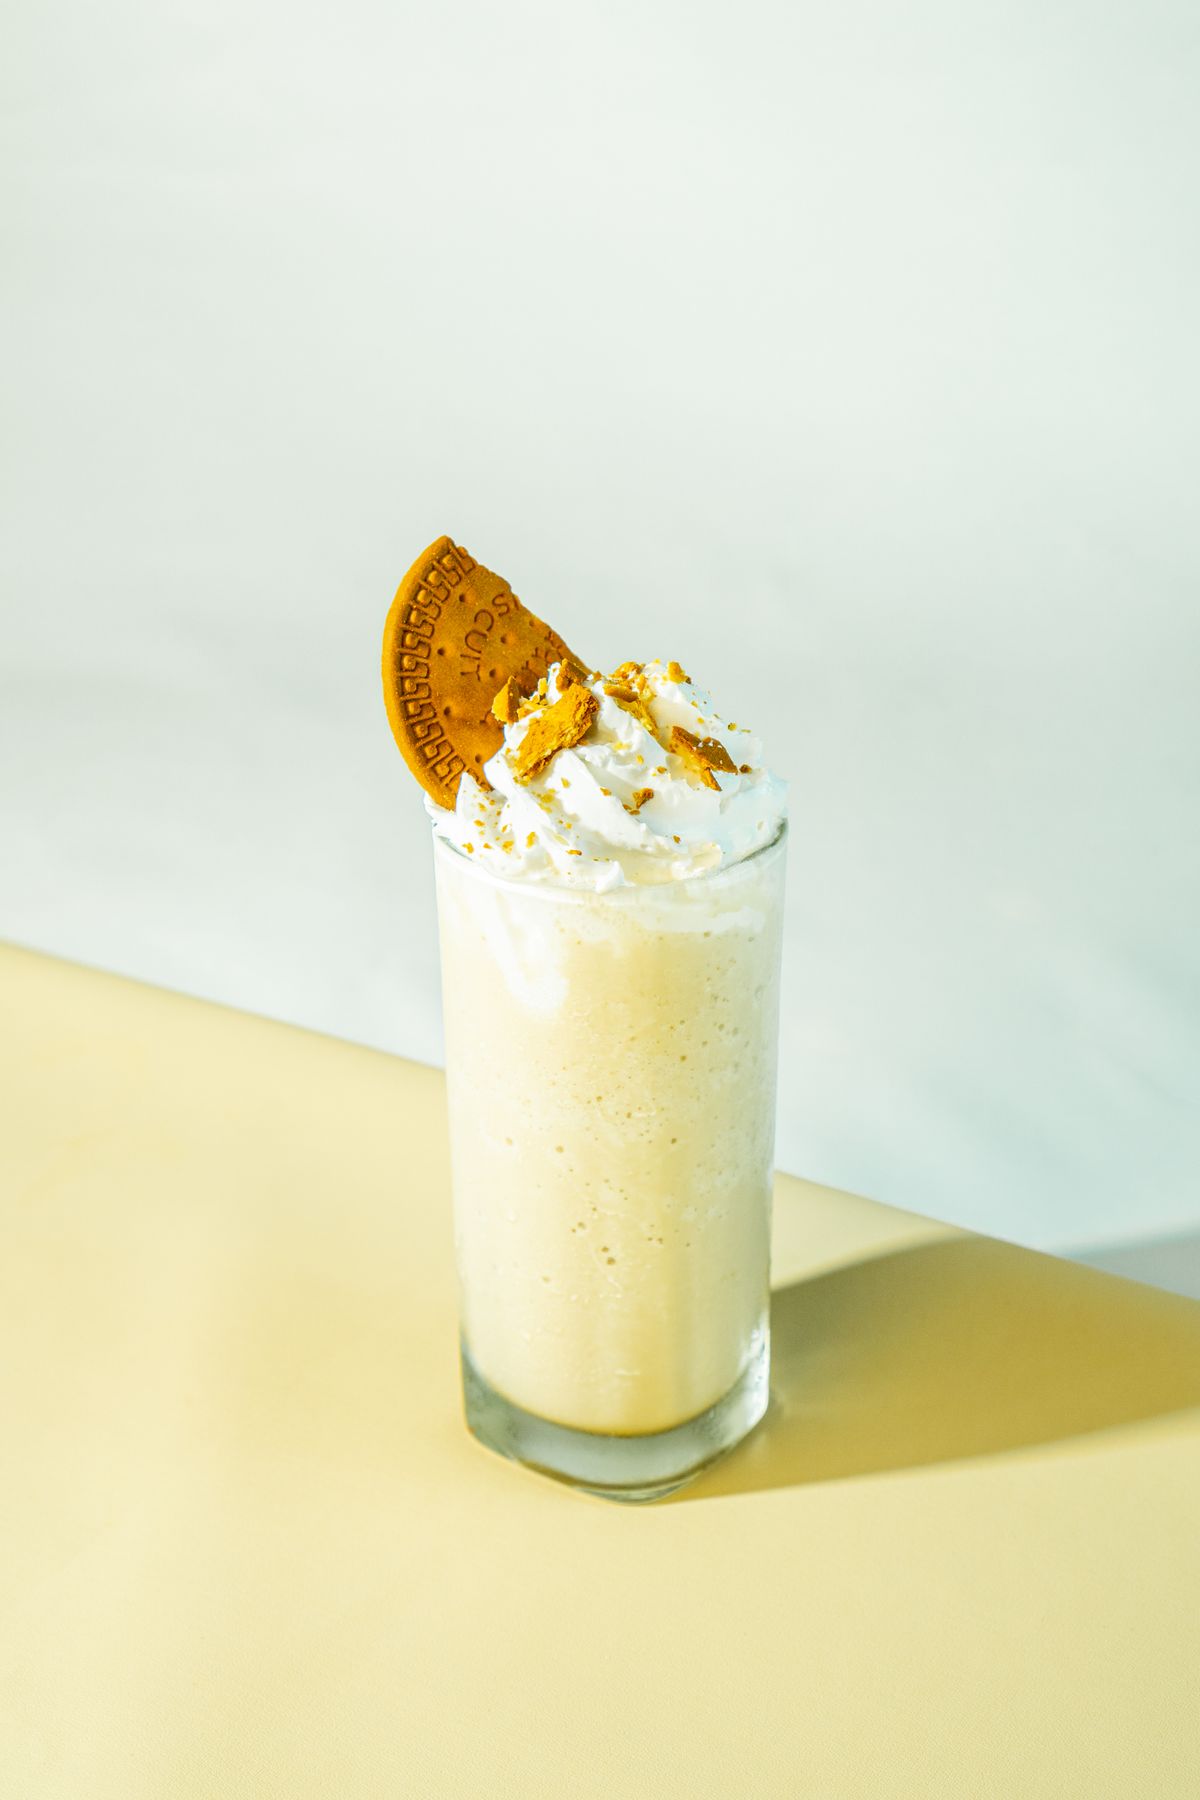
The surface should settle slowly after pouring, with no large frozen lumps under a layer of foam. A tall cap of bubbles usually means the blender has run longer than necessary. Let a foamy mixture rest briefly, then stir once with a spoon. Adding ice may make it colder, but it also introduces water as it melts and can make the texture gritty in a small blender.
What you'll need
- 300 g vanilla ice cream
- 150 ml cold whole milk, plus up to 30 ml if needed
- ½ tsp vanilla extract, optional
- 2 tbsp softly whipped cream, optional
- 2 small plain biscuits, optional, for serving
Let's make it
- Put two glasses in the fridge while you prepare the ingredients. Scoop the ice cream into a bowl and leave it only until a spoon can press into it without a struggle. It should remain frozen in the middle rather than becoming a puddle.
- Pour 150 ml cold milk into an upright blender jug. Add the vanilla extract, if using, then the softened scoops. Secure the lid and blend on low in short bursts, following the machine's instructions for frozen ingredients.
- Stop as soon as the mixture flows around the blades and no large pieces remain. Lift a spoon through it to check the consistency. If it barely pours, add milk one tablespoon at a time and pulse briefly after each addition.
- Divide between the cold glasses. Add the optional whipped cream with a spoon rather than continuing to blend. If using biscuits, place one alongside each glass or add it just before serving. Serve immediately with a spoon or a wide straw.
Make it your own
Semi-skimmed milk gives a slightly lighter drink; start with the same quantity and judge the result before adding more.
For a plant-based version, choose both a dairy-free frozen dessert and a suitable plant drink. Flavour and thickening will vary, so this is a separate variation rather than a guaranteed identical result.
Keeping it fresh
Drink straight after blending for the intended texture. If you have an untouched extra portion, cover it and refrigerate promptly at 5°C or below; use within 24 hours and follow any earlier ingredient use-by date. It will become a cold vanilla drink rather than remain a thick shake.
Do not return a melted leftover shake to the ice cream tub. Keep the tub frozen and portion only what you need.
Allergen notes
Contains milk. Optional biscuits usually contain wheat/gluten. Ice cream may also contain egg, and alternative products may contain soya or nuts; check every label and any topping.